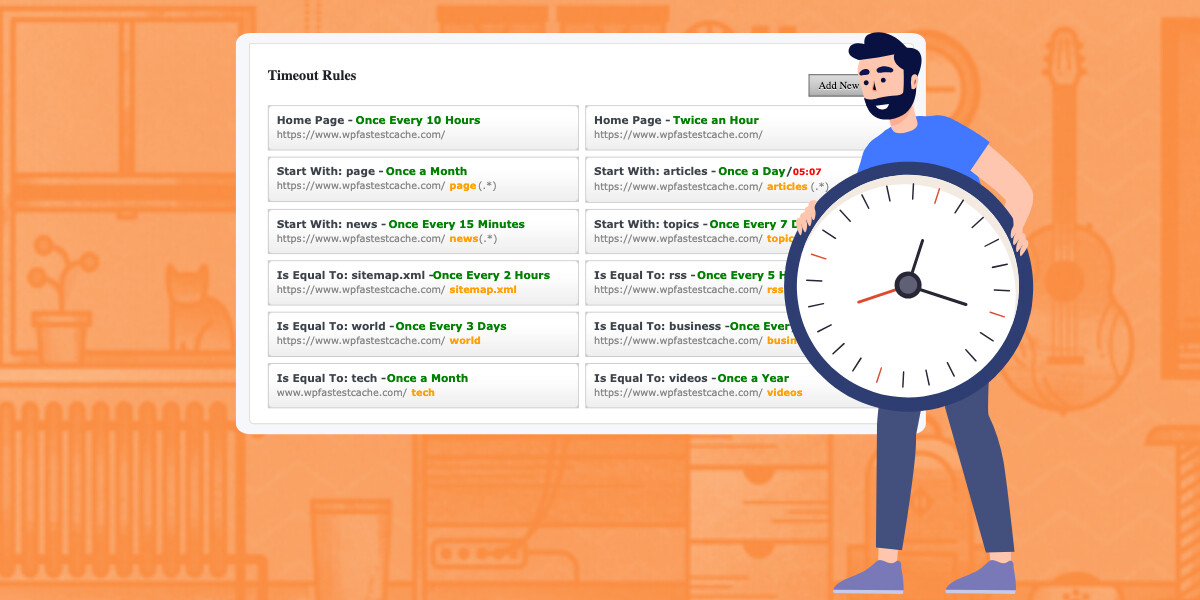
Cache Timeout Page

You have the opportunity to clear the cache at your convenience using the user-friendly Cache Timeout feature. You can specify the pages you want to delete by using the Cache Timeout feature effortlessly.
How does it work?
The cache timeout feature uses wp_schedule_event() that is triggered by site visits. If there are no visitors, the scheduled event won’t be activated, potentially leading to issues with the proper functioning of the cache timeout mechanism. If such a situation exists, you can handle it by adding a cron job. For more information on clearing cache via URL, please click.
Adding New Rule Instructions
These instructions guide you through the process of opening the “Delete Cache” tab, adding a new rule, and specifying the type of cache deletion based on your requirements.
1. Open the “Delete Cache” Tab
Find and open the “Delete Cache” tab within the settings interface. This tab is typically found within the settings or preferences section.
2. Add New Rule
Once in the “Delete Cache” tab, look for the “Add New Rule” button and click on it to initiate the rule creation process.
Note: The system is case insensitive, meaning it does not distinguish between uppercase and lowercase letters.
3. Choose Rule Type
You have three options for utilizing this feature. Select one of the following rule types based on your preference or requirements:
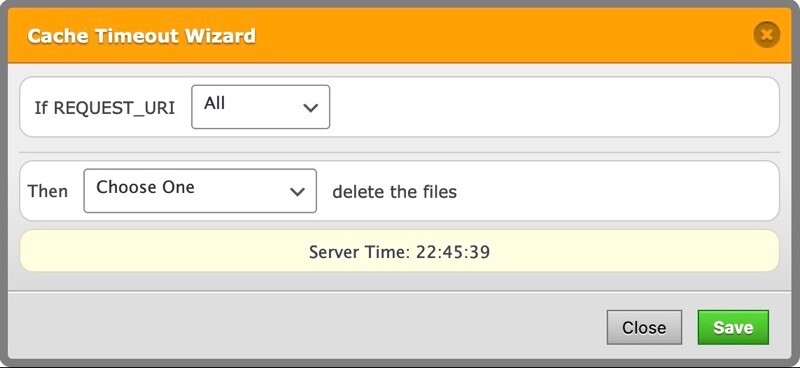
a. All
This option will delete the cache for all pages or content within the system.
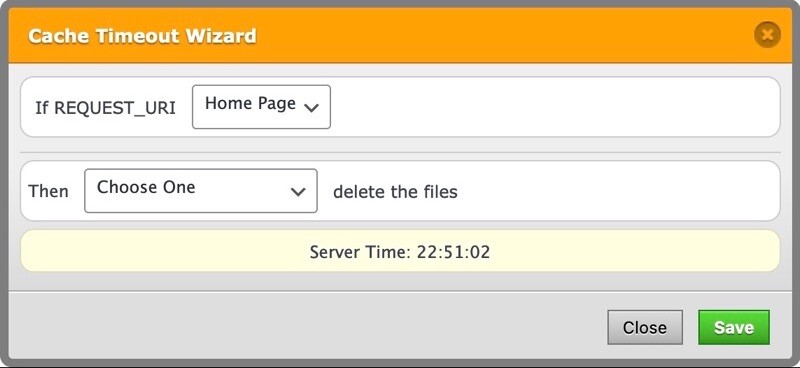
b. Home Page
Opt for this choice if you want to delete the cache specifically for the home page of the system.
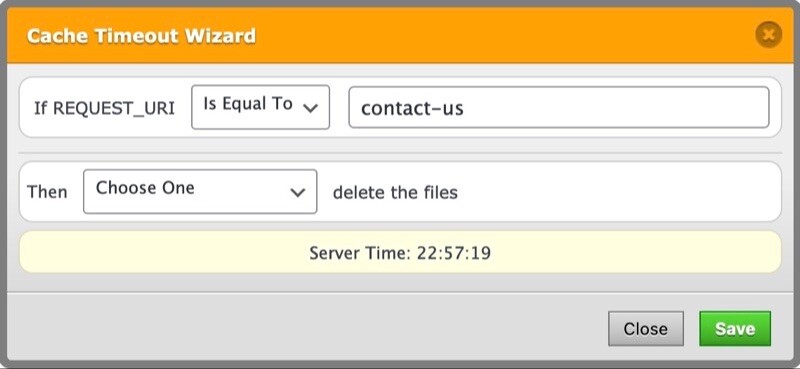
c. Is Equal To
Use this option to target cache deletion for specific content or pages. Enter the relevant information, such as the page name or identifier, to specify which content should have its cache deleted.
4. Save and Confirm
After selecting the desired rule type, save your configuration to implement the changes. Look for a “Save” button, and confirm your selection to complete the process.
Triggering Preload Feature
Clearing all cache triggers the “preload” feature and the preload feature starts working. Since clearing the entire cache is only possible with the “All” option, preload is triggered only when the “All” option is selected.
