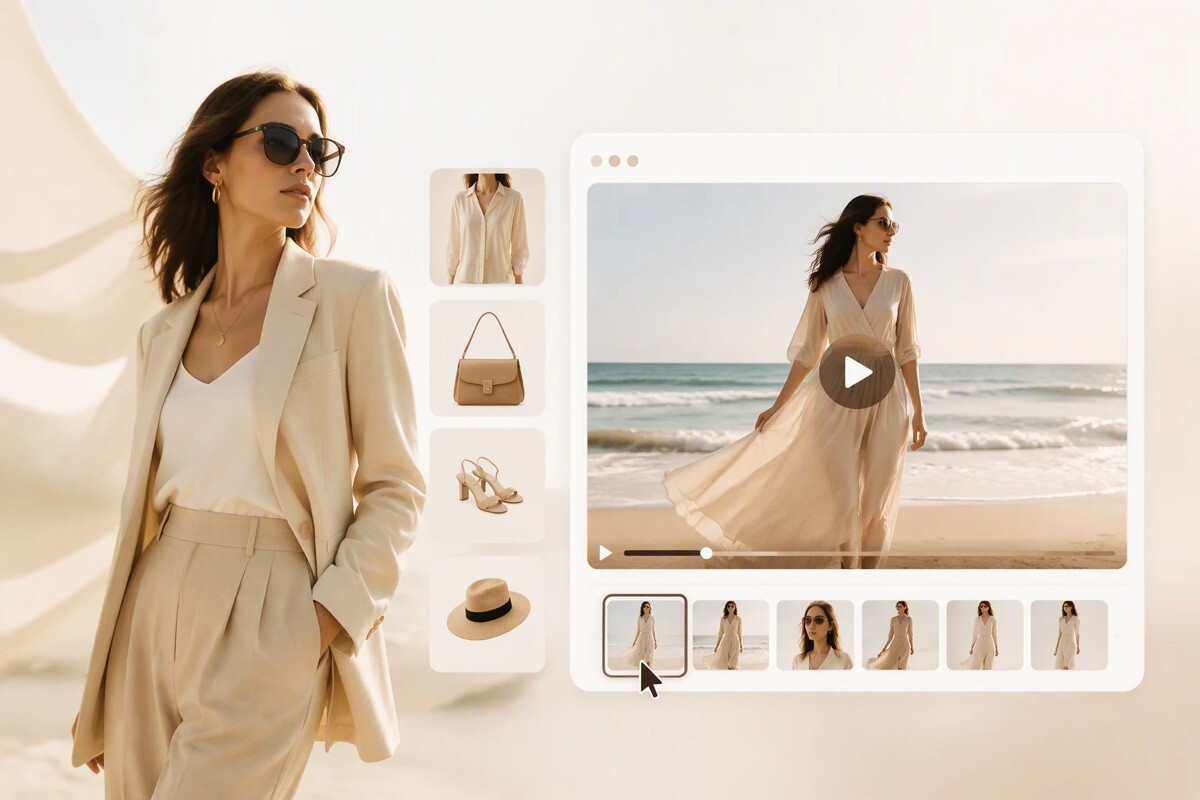
Turn Your Ideas Into AI Videos and Images

You have a vision in your head, but putting it on paper often feels impossible. You might want to tell a story, sell a product, or share a unique concept with the world. In the past, you needed expensive software and years of training to create high quality visuals. Now, artificial intelligence allows anyone to turn a simple thought into a stunning piece of media. You can start with a few words and end up with a professional video or a beautiful portrait. This process is not just about clicking a button, it is about learning how to guide the machine to match your imagination.
Modern tools have made it simple to build complex projects from your home computer. You’ll find it much easier to create videos with AI-powered workflows when you have a clear plan for your story. These systems take your text descriptions and turn them into moving frames that look like they were shot by a film crew. You do not need to worry about lighting kits or expensive cameras anymore. The software handles the technical details while you focus on the creative direction of your project.
If you already have a collection of photos, you can use them as a foundation for something new. You can transform existing images into new styles to give your old content a second life. This method is perfect for keeping your social media feed consistent or updating your brand look without a new photoshoot. By using your own files as a guide, the AI stays true to your original composition while adding a fresh layer of creativity. It is a fast way to experiment with different artistic movements or color palettes.
Step by Step Guide to AI Creation
Step 1: Define Your Concept
Every great project starts with a solid idea. You should decide what you want to make before you open any software. Ask yourself what the main subject is and what they are doing. Think about the mood of the piece. Is it dark and moody, or bright and happy? Write down a few sentences that describe the scene in detail. This will serve as your roadmap. If you are making a video, think about the sequence of events. A clear concept prevents you from wasting time on random generations that do not fit your goals.
Step 2: Select Your AI Platform
There are many different tools available today. Some are built for static art, while others focus entirely on motion. You should choose a platform that fits your specific needs. Some tools run in your web browser, making them easy to access from anywhere. Others might require a more powerful computer to run locally. Look for a tool that offers a balance of control and ease of use. You want something that allows you to adjust settings like aspect ratio and style without being too confusing.
Step 3: Master the Art of Prompting
The prompt is the set of instructions you give to the AI. You need to be specific to get the best results. Start with the main subject, then add details about the environment, the lighting, and the camera angle. Instead of saying a cat, say a fluffy orange tabby cat sitting on a wooden porch in the golden hour sunlight. Use simple and strong verbs to describe actions. Avoid using too many adjectives that might confuse the system. You can also mention specific art styles, such as oil painting or 3D render, to guide the final look.
Step 4: Generate and Iterate
Once you enter your prompt, the AI will generate a few options for you. It is rare to get the perfect result on the first try. You should look at what the AI produced and identify what you like and what you do not like. If the colors are wrong, adjust your prompt to mention a specific color scheme. If the subject is in the wrong place, add directional words like in the background or on the left side. This process of refining your request is called iteration. You might go through five or ten versions before you find the one that matches your vision.
Step 5: Convert Images to Motion
If your goal is a video, you can use your best static image as a starting point. Most video generators allow you to upload an image and tell the AI how to move it. You can describe camera movements like panning to the right or zooming in. You can also describe the movement of the subject, such as a person waving or trees swaying in the wind. This step adds a layer of life to your static art. It bridges the gap between a simple picture and a cinematic experience.
Step 6: Final Editing and Polishing
After you have your clips or images, you might need to do some final touch ups. You can use standard editing software to stitch clips together or add music. You might also want to use an upscaler to make the resolution higher for big screens. Check for any small errors the AI might have made, such as strange shapes in the background. You can often fix these with simple cropping or by running a small part of the image through the generator again. This final step ensures your work looks professional and polished.
Tips and Best Practices
To get the most out of these tools, you should follow a few simple rules. First, always consider the aspect ratio of your project. If you are making a video for a phone, use a vertical ratio. If it is for a television, use a wide horizontal ratio. Setting this early prevents your images from looking stretched or cut off later.
Second, keep your prompts organized. You can save your favorite prompts in a text file so you can use them again. This helps you maintain a consistent style across multiple images or video clips. If you find a specific combination of words that produces a great lighting effect, keep it for future use.
Third, pay attention to lighting and color theory. Even though the AI does the drawing, you are the director. Mentioning terms like cinematic lighting or soft bokeh can make a huge difference in the quality of the output. Using complementary colors will make your visuals pop and grab the attention of your audience.
| Task Type | Difficulty Level | Time Investment |
| Text to Image | Low | 1 Minute |
| Image to Image | Medium | 2 Minutes |
| Text to Video | High | 5 Minutes |
| Image to Video | Medium | 4 Minutes |
| Upscaling | Low | 2 Minutes |
Common Mistakes to Avoid
One common mistake is making your prompts too long. If you give the AI a paragraph of fifty different details, it might get overwhelmed and ignore half of them. It is better to focus on the five or six most important elements of the scene. You can always add more detail in a second pass if the first one is too simple.
Another error is ignoring the background. Many people focus so much on the main character that they forget to describe where that character is. This often leads to blurry or nonsensical backgrounds. Always spend a moment describing the setting to give your subject a place to live.
Finally, do not expect the AI to handle text perfectly. Most generators still struggle with writing specific words inside an image. If you need a sign that says a specific name, it is usually better to generate the image without the text and add the words yourself using a photo editor. This saves you from the frustration of seeing garbled letters in your beautiful artwork.
Conclusion
Transforming your ideas into visual media has never been more accessible. By following a structured workflow, you can move from a basic thought to a finished video in a very short time. You should start by defining your concept and choosing the right tools for the job. Mastering the way you talk to the AI through prompts is the most important skill you can develop. Remember to iterate on your designs and refine them until they are exactly what you wanted.
As you get more comfortable with these workflows, you will find new ways to express your creativity. You can mix different styles, experiment with motion, and breathe life into old photos. The technology is always improving, so staying curious and practicing often will keep your skills sharp. You have the power to be a creator, a director, and an artist all at once. Start with one simple idea today and see where the technology takes you.